This is default featured slide 1 title

Go to Blogger edit html and find these sentences.Now replace these sentences with your own descriptions.This theme is Bloggerized by Lasantha Bandara - Premiumbloggertemplates.com.

This is default featured slide 2 title

Go to Blogger edit html and find these sentences.Now replace these sentences with your own descriptions.This theme is Bloggerized by Lasantha Bandara - Premiumbloggertemplates.com.

This is default featured slide 3 title

Go to Blogger edit html and find these sentences.Now replace these sentences with your own descriptions.This theme is Bloggerized by Lasantha Bandara - Premiumbloggertemplates.com.

This is default featured slide 4 title

Go to Blogger edit html and find these sentences.Now replace these sentences with your own descriptions.This theme is Bloggerized by Lasantha Bandara - Premiumbloggertemplates.com.

This is default featured slide 5 title

Go to Blogger edit html and find these sentences.Now replace these sentences with your own descriptions.This theme is Bloggerized by Lasantha Bandara - Premiumbloggertemplates.com.

Wednesday, September 25, 2013

PyaPal အေကာက္အလြယ္ကူဆံုး ေလွ်ာက္နည္း


အခု တစ္ေခါက္ ကၽြန္ေတာ္ တင္ျပမွာကေတာ့ PayPal  အေကာက္ ေလွ်ာက္နည္းဘဲ ျဖစ္ပါတယ္။ အထူးသျဖင့္ ျမန္မာႏုိင္ငံမွာ ေနထိုင္သူမ်ား အတြက္ပါ။ ဘာျဖစ္လို႔လဲဆိုေတာ့ PayPal အေကာက္ေလွ်ာက္တဲ့ အခါမွာ ႏုိင္ငံေ႐ြးတဲ့ဆီမွာ ျမန္မာႏိုင္ငံမပါလို႔ပါဘဲ။ အဲ့ဒါေၾကာင့္ မို႔လို႔ ျမန္မာႏိုင္ငံက လူေတြ ေလွ်ာက္လို႔ လြယ္ေအာင္ တင္ျပလိုက္ျခင္း ျဖစ္ပါတယ္။မန္မာျပည္ကလူမ်ားကေတာ့ paypal.comဒီအတိုင္း၀င္လို ့ရမွာမဟုတ္ပါဘူးဒါေႀကာင့္မို့ဒီမွာျပထားတဲ့နည္းလမ္းအတိုင္းဦးစြာ
လုပ္ျပီးမွေအာက္မွာျပထားတဲ့နည္းလမ္းအတိုင္းလုပ္ေပးပါ။

            အရင္ဦးဆံုး https://www.paypal.com/ ထဲ ၀င္ျပီးေတာ့ Sign Up ကလစ္လိုက္ပါ။


ႏိုင္ငံေ႐ြးတဲ့ ေနရာမွာ ထိုင္းႏိုင္ငံကို ေ႐ြးလိုက္ပါ ခင္ဗ်ာ။  တကယ္လို႔ မိတ္ေဆြတို႔က မေလးတို႔ ၊ စ လံုး တို႔ ကိုးရီးယား တို႔မွာ ေနတယ္ ဆိုရင္ေတာ့ ကိုယ္ေနတဲ႔အတိုင္း ထည့္ျပီး ေလွ်ာက္ႏုိင္ပါတယ္။


Personal ကုိေရႊးျပီးကလစ္ပါ  ။ Email address  ထည့္တာတို႔ First Name Last Name ထည့္တာတို႔ကေတာ့ သိမွာေပါ့ ။Password မွာေတာ့  စာလံုးအၾကီးတစ္လံုးနဲ ့အေသးတစ္လံုးပါပါေစ။
ဥပမာ Zh12345678 ေပါ့


ဒီအပိုင္းမွာ ျဖည့္ရမွာက အေရးၾကီးပါတယ္။ အမွန္အတိုင္း ျဖည့္ရမွာပါ။ Address မွာ ၾကိဳက္တာ ထည့္ပါ။ City/District မွာေတာ့ Phuket  ေရးပါ။ Province မွာလဲ Phuket ကိုဘဲေ႐ြးေပးပါ။ Postcode မွာေတာ့ 83000 လို႔ ျဖည့္ပါ။ Phone number မွာကေတာ့ 08 နဲ႔ စျပီးေတာ့ ဂဏန္းဆယ္လံုး ျပည့္ေအာင္ ထည့္ပါ အမွန္အတိုင္း ေရးရင္ေတာ့ ေကာင္းပါတယ္။ 0846261126 ဒါကေတာ့ ကၽြန္ေတာ့္ Phone No ပါ။ မိတ္ေဆြတို႔ သံုးခ်င္တယ္ ဆိုရင္ သံုးႏိုင္ပါတယ္။


 ပံုမွာျပထားတဲ့ Line နံေဘးက အမွတ္ကုိျဖဳတ္ျပီး Agree and Crate အေကာင့္ကုိ ႏွိပ္လိုက္ပါ


  အခုလိုပံုစံေလးေတြ႔ရမွာျဖစ္ပါတယ္ သူေပးထားတဲ့ စာလံုးေတြကုိ ထည္ျပီး Continue ကုိကလစ္ပါ။ ဘဏ္အေကာင့္ျဖည့္ခိုင္းပါမယ္ ျဖည့္စရာမလိုပါဘူး MY Accoute ကုိကလစ္လိုက္ပါ ။ျပီးရင္ကုိယ္အေကာင့္ဖြင့္ထားတဲ့ ေမးထဲတစ္ခ်က္ၾကည့္လိုက္ပါ။ paypal ဆိုဒ္က ကုတ္ပုိ႔ထားတာေတြ႔ရပါမယ္။ ေကာ္ပီလုပ္ပီးထည့္လိုက္ပါ  အဆင္ေျပပါျပီ။ Security questions  ျဖည့္တဲ့အခါမွာ သတိထားပါ။ ေသေသခ်ာခ်ာမွတ္ထား အေၾကာင္းအမ်ဳိးအမ်ဳိးေၾကာင့္ Pass ေမ့တဲ့အခါ  Security questions  မသိရင္ ၀င္မရပါဘူး။


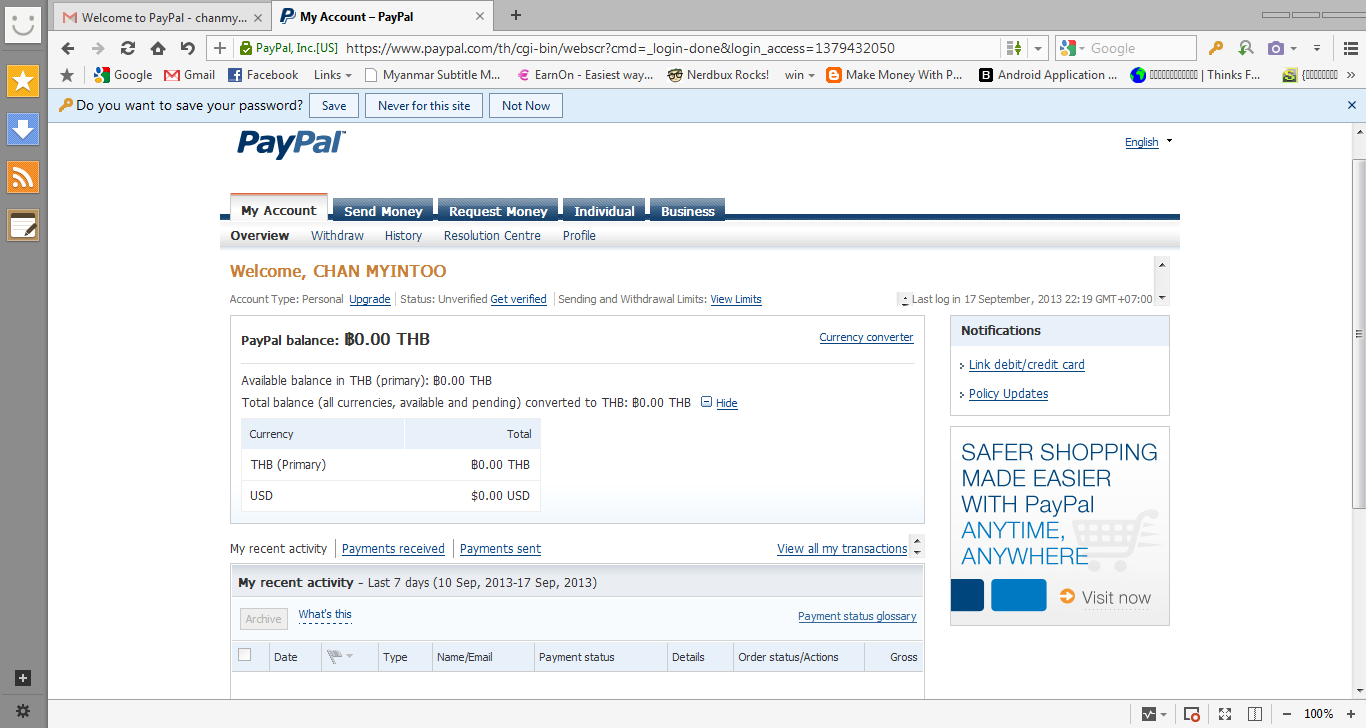
ဒီလိုပံုေလးရေနျပီးဆိုရင္ေတာ့


   ဒါဆိုရင္ေတာ့  အေကာက္ ေလွ်ာက္ျခင္း ျပီးဆံုး သြားပါျပီ ။  မွတ္ခ်က္=> Paypal Account ရၿပီဆိုတာနဲ႕ Activate ျဖစ္ဖို႕ VisaCard လိုပါတယ္..အဲဒီ ကဒ္အတြက္ www.shwemoney.com မွာစံုစမ္း၀ယ္ယူႏိုင္ပါတယ္..ေစ်းႏႈန္းကေတာ့ တစ္ႏွစ္စာေျခာက္ေသာင္း သက္တမ္းတိုရင္ တစ္ေသာင္းခြဲပါခင္ဗ်ာ။ Activate မျဖစ္လဲဘဲ အင္တာနက္မွ ရွာထားတဲ့ ပိုက္ဆံေတြကို ေငြလြဲ ေငြပို႔ လုပ္လို႔ရပါတယ္။

PyaPal အေကာက္ေလွ်ာက္ရန္အခက္အခဲရွိသူမ်ားေအာက္ပါလိပ္စာတြင္အကူအညီေတာင္းႏိုင္ပါသည္။


Facebook
https://www.facebook.com/zawlin3000
Facebook Page
http://www.facebook.com/ZawlinITWorld
Blog
http://zawlinitworld.blogspot.com/
Mobile
084-626-1126  ......... သို ့မဟုတ္

Facebook
https://www.facebook.com/pyaephyo.nyeinchan
Facebook Page
https://www.facebook.com/pyaephyo.technolog
Blog
http://pyaephyo.blogspot.com/
Moible
+66875956059


Thursday, September 19, 2013

PayPal အေကာက္ေလွ်ာက္နည္းႏွင့္ Verify ျဖစ္ေအာင္ လုပ္နည္း


အခု တစ္ေခါက္ ကၽြန္ေတာ္ တင္ျပမွာကေတာ့ PayPal  အေကာက္ ေလွ်ာက္နည္းဘဲ ျဖစ္ပါတယ္။ အထူးသျဖင့္ ျမန္မာႏုိင္ငံမွာ ေနထိုင္သူမ်ား အတြက္ပါ။ ဘာျဖစ္လို႔လဲဆိုေတာ့ PayPalအေကာက္ေလွ်ာက္တဲ့ အခါမွာ ႏုိင္ငံေ႐ြးတဲ့ဆီမွာ ျမန္မာႏိုင္ငံမပါလို႔ပါဘဲ။ အဲ့ဒါေၾကာင့္ မို႔လို႔ ျမန္မာႏိုင္ငံက လူေတြ ေလွ်ာက္လို႔ လြယ္ေအာင္ တင္ျပလိုက္ျခင္း ျဖစ္ပါတယ္။ျမန္မာျပည္ကလူမ်ားကေတာ့  paypal.comဒီအတိုင္း၀င္လို ့ရမွာမဟုတ္ပါဘူးဒါေႀကာင့္မို့ဒီမွာျပထားတဲ့နည္းလမ္းအတိုင္းဦးစြာ
လုပ္ျပီးမွေအာက္မွာျပထားတဲ့နည္းလမ္းအတိုင္းလုပ္ေပးပါ။

Your-freedom အေကာင္႔ဖြင္႔ရေအာင္


ကြ်န္ေတာ္တုိ႔ ျမန္မာႏုိင္ငံကေန Paypal အေကာင္႔ကုိ ဖြင္႔မယ္ဆုိရင္ တုိက္ရုိက္ဖြင္႔လုိ႔ မရေသးပါဘူး။ ျမန္မာႏုိင္ငံ IP address နဲ႔ဆုိရင္ Paypal အေကာင္႔ကို ခ်က္ခ်င္း Limited လုပ္လုိက္မွာပါ။ ျမန္မာကေန Paypal ကို သုံးခ်င္တယ္ဆုိရင္ Proxy ေဆာ႔၀ဲေတြကို သုံးျပီးေတာ႔မွ ရပါလိမ္႔မယ္။ အခု ဒီမွာေတာ႔ Proxy ေက်ာ္ဖုိ႔အတြက္ Your-freedom ေဆာ႔၀ဲကုိ အသုံးျပဳပါတယ္။ အဲဒီေဆာ႔၀ဲကုိ အသုံးျပဳဖုိ႔အတြက္ဆုိရင္ http://www.your-freedom.net/ မွာ အရင္ဆုံး Register လုပ္ဖုိ႔လုိပါတယ္။

              ၁။ Register လုပ္ဖုိ႔အတြက္ http://www.your-freedom.net/ ကို အရင္ဖြင္႔လုိက္ပါ။

                 ၂။ ေအာက္ကပုံမွာ ျပထားတဲ႔အတိုင္း Click here to register ကို ႏွိပ္လိုက္ပါ။


ေနာက္ထပ္ ထပ္ပြင္႔လာတဲ႔ Page ကုိ ေအာက္မွာျပထားပါတယ္။


Username: Your-freedom အေကာင္႔အတြက္ username ကို ထည္႔ေပးပါ။

Password: Your-freedom အေကာင္႔အတြက္ Password ကို ထည္႔ေပးပါ။

Repeat Password: အေပၚမွာ ထည္႔ခဲ႔တဲ႔ Password ကိုပဲ ျပန္ထည္႔ေပးပါ။

Email address: ကိုယ္႔ရဲ႕ Email လိပ္စာကုိ ထည္႔ေပးပါ။

ျပီးရင္ ေအာက္မွာ ျမွားျပထားတဲ႔ Check box ေတြမွာ ကလစ္ျပီး Check လုပ္ေပးပါ။


အေပၚမွာ ကိုယ္ရဲ႕ အခ်က္အလက္ေတြကို ထည္႔ေပးရမယ္႔ ေနရာကို ျပထားတာပါ။ အဲဒါေတြက လုံး၀ အေရးမၾကီးပါဘူး။ အဆင္ေျပတာကုိ ထည္႔ေပးႏုိင္ပါတယ္။ မျဖည္႔ဘဲနဲ႔ ေက်ာ္သြားလုိ႔လည္း ရပါတယ္။ ျပီးရင္ Submit ကို ႏွိပ္ေပးပါ။


ျပီးရင္ ကြ်န္ေတာ္တုိ႔အေပၚမွာ ထည္႔ေပးခဲ႔တဲ႔ Email လိပ္စာဆီကို အီးေမးပို႔လုိက္တယ္ဆိုတဲ႔ Page တက္လာပါလိမ္႔မယ္။


ေမးထဲကိုသြားျပီးေတာ႔ Your-freedom ကေန ပုိ႔လုိက္တဲ႔ အီးေမးကုိ ဖြင္႔လုိက္ပါ။ ျပီးရင္ ပုံမွာ ျမွားျပထားတဲ႔ လင္႔ကို ႏွိပ္လုိက္ပါ။ ျပီးရင္ အေကာင္႔ကုိ Activation လုပ္ခုိင္းတဲ႔ Page တက္လာပါလိမ္႔မယ္။


ျပီးရင္ Username နဲ႔ Authorization code ကို အီးေမးထဲကေန ေကာ္ပီကူးထည္႔ျပီး Activate account ကို ႏွိပ္ေပးပါ။ အဲဒါဆုိရင္ ကြ်န္ေတာ႔္တို႔ Register လုပ္တာ ေအာင္ျမင္စြာနဲ႔ ျပီးဆုံးသြားပါျပီ။

ျပီးရင္ ကြ်န္ေတာ္တုိ႔ ကြန္ျပဴတာမွာ Your-freedom ေဆာ႔၀ဲကုိ install လုပ္ႏုိင္ဖုိ႔အတြက္ Downloads ကို ႏွိပ္ေပးပါ။ 


ကုိယ႔္ကြန္ျပဴတာ OS နဲ႔ ကိုက္ညီမယ္႔ Installer ကို ေရြးျပီး download လုပ္ျပီး install လုပ္ျပီး အသုံးျပဳလုိ႔ ရပါျပီ။


ကိုNaing Aung Soe ရဲ ့ပို ့ကိုျပန္လည္တင္ျပျခင္းျဖစ္ပါသည္


facebook comments

liked pages

Zawlin IT World ဘေလာ့ကို လာၾကည့္သူအေပါင္းတို႔ ကိုယ္စိတ္ႏွလုံးရႊင္လန္းၾကပါေစလို႔ဆုမြန္ေကာင္းေတာင္းလၽွက္ပါ၊

ေအာက္ေဖာ္ျပပါ ေၾကာ္ျငာကို တစ္ေန႕တစ္ၾကိမ္မွ် Click ေပးျခင္းျဖင့္ ျပန္လည္ကူညီေပးပါခင္ဗ်ာ

Related Posts Plugin for WordPress, Blogger...